So I have here all of the wing and engine pieces.

Primed with Tamiya gray...

And painted with Tamiya AS-20 Insignia White for the body color.

I'm using a liquid latex mask again to create the paint chipping on the wings. I've dipped a needle into the latex to apply to the model.


After the latex has dried, I paint the pieces with Tamiya flat red. I've also taped off the 5 red stripes signifying Red Five, and paint those red as well.


The pieces are then inserted into the wings and I rub away the liquid mask, revealing the chipped paint.

With the liquid mask, I've tried to create the chipping as close as possible to the actual filming miniature used in the movie.

I then mask off some areas of the wings and engines that I'm going to paint Tamiya XF-19 Sky Gray.


Then mask off and paint areas with Tamiya XF-20 Medium Gray.


Looking at my photo reference of the filming miniature, on the top port engine, the ring is a yellow color. So I mask off my engine and paint it with Vallejo flat yellow.


I then added a bit of chipping on the front rings of the engines using the sponge technique. I dipped a sponge in some Tamiya AS-20 white and lightly dabbed the rings.

Before I can attach the wings to the model, I've planned out my wire routing for my laser canon LEDs. So I cut away some areas of the inside of the wings to allow the wires to run through the wings without being pinched and severed.


I then attach the first wing to the motor housing portion of the model kit.

I then proceed to secure the LED wire to the inside of the wing with some little strips of masking tape I have cut.


Then the half portion of the wing is attached carefully, as to not pinch the wires, leaving the LED passing out through the end of the wing.


With all four wings now attached and the LED wires extending out the wing ends, I attach the interior portion of the engines, where the engine LED wires run through.

Before attaching the engines to the wings, I paint the inside blades of the engines with a simple black wash.


With the engine blades inserted into the engine housings, the engine housings are then attached to the wings.


The rear portion of the engine is slid on and attached to the wing...


I then paint the insides of the engine exhausts using Tamiya Oil pastel.


Then the portion of the engine that secures and diffuses the engine LED is attached together.


The LED holder and diffusers are then inserted into the engine exhausts.


Then the LED holder and engine exhaust are inserted into the rear of the engine with the neopixel LED carefully secured inside.


And a lighting test of the engines are done to make sure it is all still working OK after being assembled.


There are also 4 engine pieces which go on the interior of the wings to simulate the other half of the engines. These are primed and painted with Tamiya AS-20 Insignia White.

I then do a black wash over them and a wash with Vallejo dark rust.

And all 4 are then inserted into the underside of the wings along the body.


So I'm finally at the stage of attaching the laser canons to the wings. Once again, primed and painted with Tamiya AS-20 Insignia White.

So with the LED and wire extending out the end of the wings, I carefully slide on one half of the canon into place, bend the wires to run through to the tip of the canon, and then very carefully attach the other half of the canon assembly without pinching the LED wires and damaging them.


The end cap and front of the canon are then place over the canon assembly.


A lighting test is then done with all 4 of the laser LEDs to make sure they are all still working correctly.
BAD! I actually had the upper starboard LED not working. It in fact, did get pinched in the canon assembly and the ground wire was severed. Fortunately, it was right there in the canon assembly portion and was easily accessible. I just soldered the ground wire back together, re-assembled, and all 4 LEDs work just fine.

So now it's on to how I'll be lighting my laser canons. Pictured below is the plastic kit piece, which is way to small to try and drill out the center. So I purchased 3 different diameters of aluminum tubing to simulate the kit piece. 3/32", 1/8" and 5/32"


Each tube will nicely fit inside the other, to replicate the look of the kit piece as seen below.

So I mark my aluminum tubing where it needs to be cut for the proper length. I then cut it using my mini miter saw.


With the pieces now cut to length, you'll notice the kit piece also has a flat edge on the rear where it mounts into the laser canon assembly on the wing. So I've cut my mid sized aluminum tube with a notch in the end similar to the kit piece.


With all of the tubes cut and ready, I use super glue and slowly slide them into each other at the appropriate lengths.


Now comes a part of been a little nervous about. I need to cut the little half circle and nub behind it to use on my tubing.


With the pieces removed, I first carefully drill a hole through the center using a 2mm drill bit.


I then drill a larger hole with a 3/16" drill bit, which is the diameter of the aluminum tubing it needs to go over.


The pieces are then slid onto the aluminum tubing into the appropriate spot to match the kit piece.


Then the same is done with the remaining 3 laser canons.


The laser canons are then primed with Tamiya primer and painted Tamiya AS-20 Insignia White.


I have cut 4 pieces of 1.5mm fiber optic to a length slightly longer than the canons. The purpose is to slide the fibers in to where they will just touch the LED once inserted into the housing, then snip the ends at the end of the canon. I will leave about 1mm of fiber coming out the tip for more illumination.


All 4 have the fiber inserted and cut at the end. You can see just a bit at the ends of the canons.

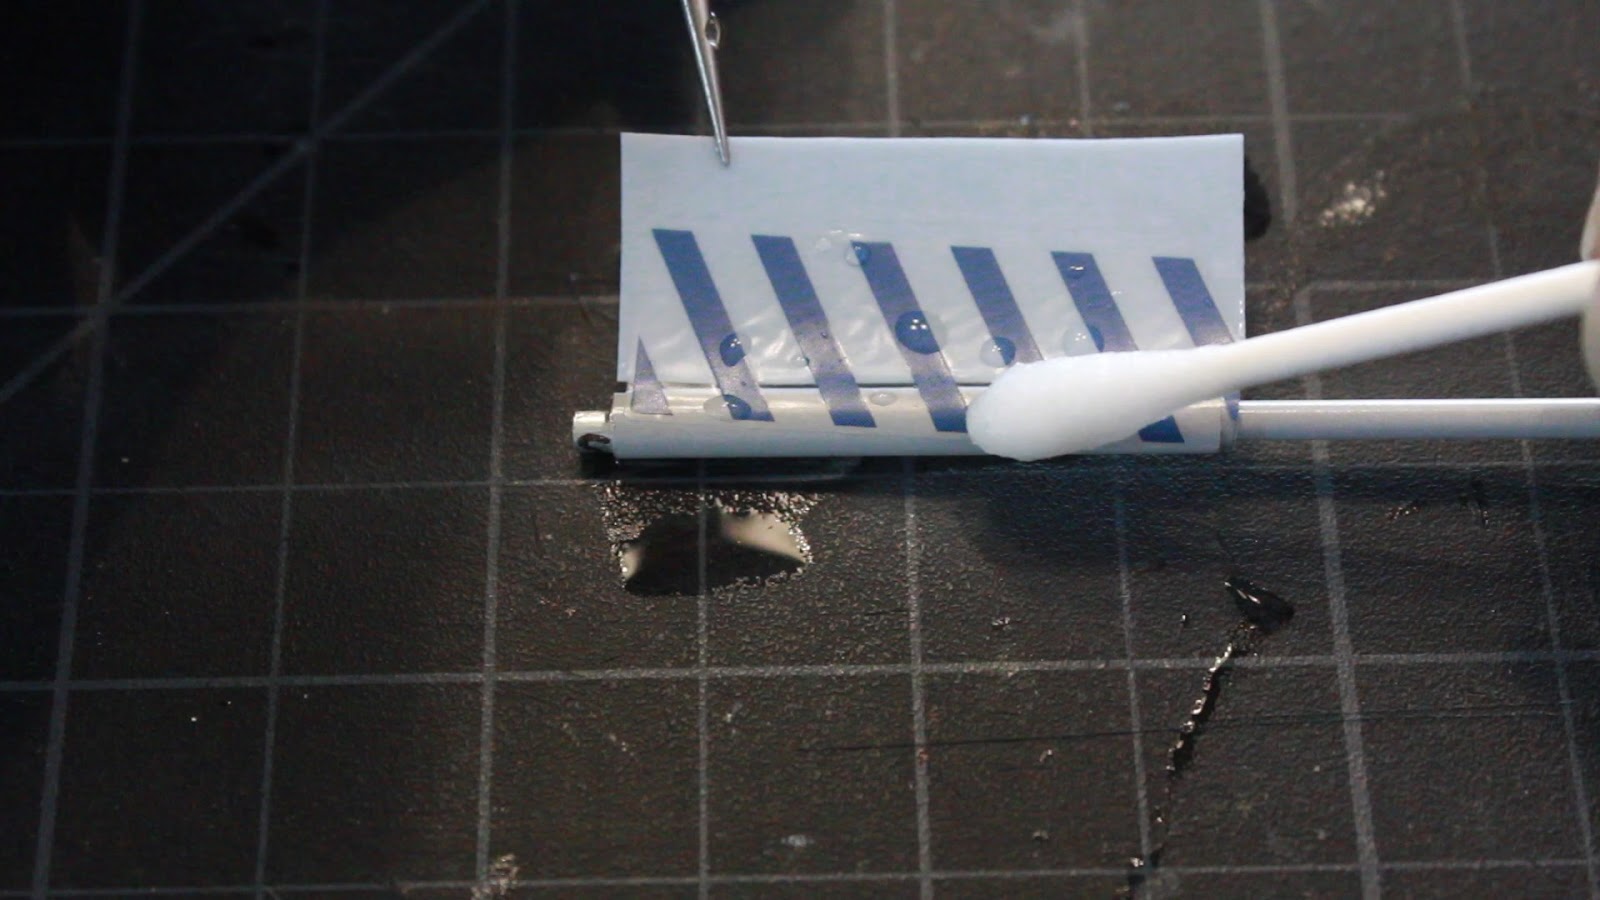
Next is to apply 2 decals to 2 of the canons before finally attaching them to the X-Wing.

I use Microsol Microset on the canon for the decal to adhere to.


So with all 4 canons done, I finally attach each one to their respective wing.


And here we have a completed build (not fully painted yet) of the X-Wing.


Then one final light test of the lasers to make sure all is working well.


So there we have it. The actual build portion of the X-Wing and all of it's lighting is now completed. I will next move on to final weathering and doing my custom base with electronics.
So stay tuned. Much more to come...