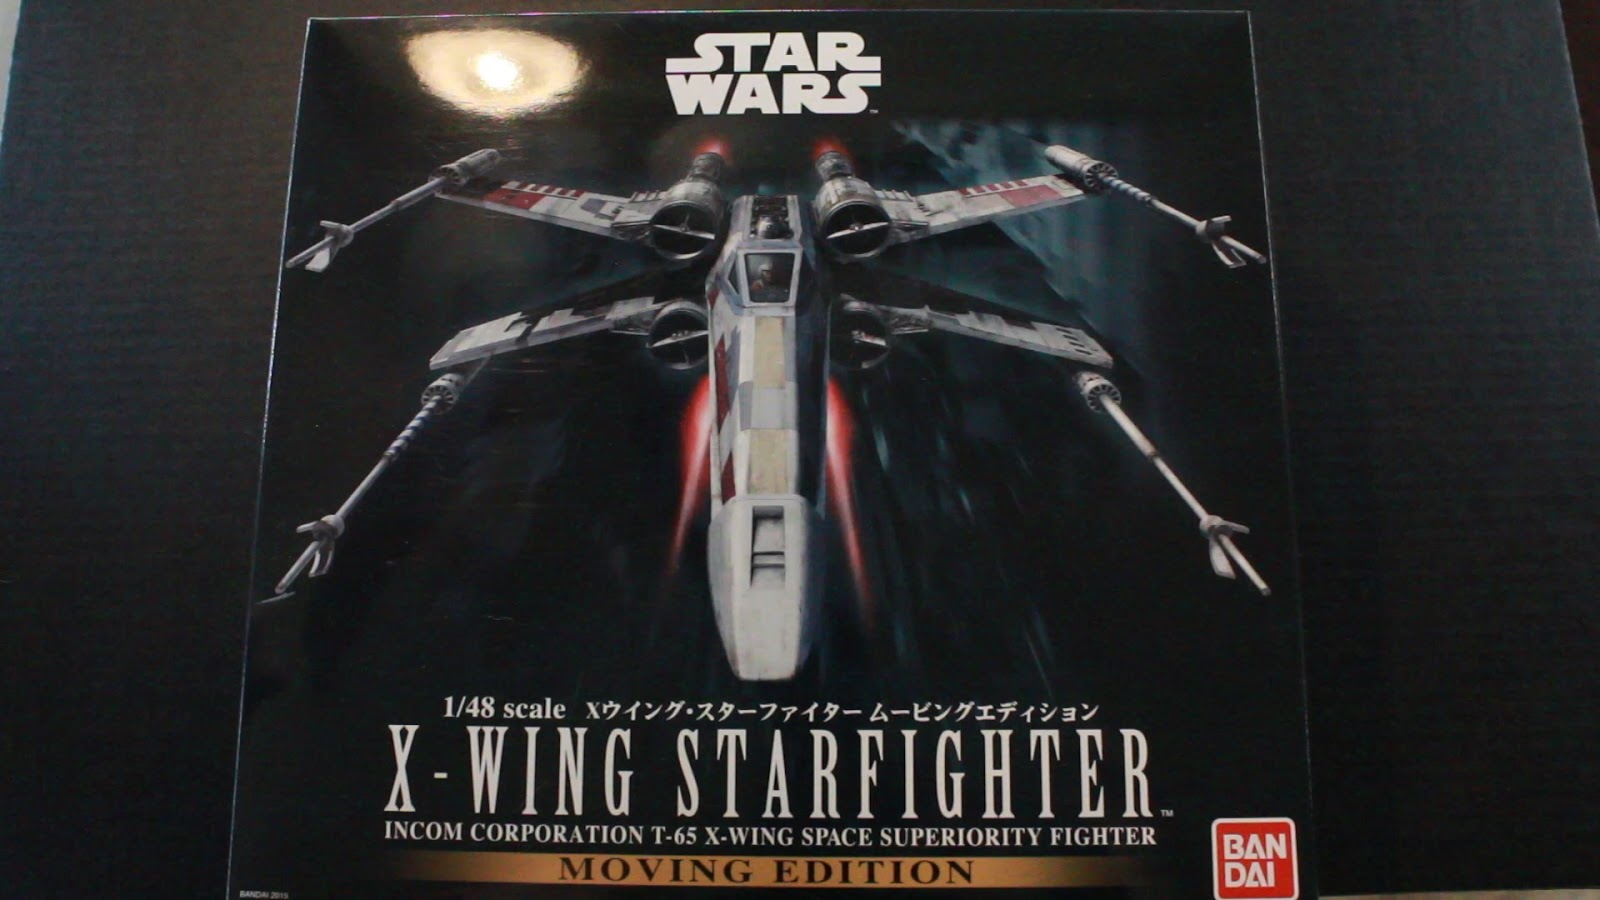
So this is the next kit I am currently working on. The reason I've chosen this X-Wing kit over the 1/72 Bandai X-Wing kit is because of the size. While the Moving Edition does come with some lighting and movable wings, the 1/48 scale is my real reason for building this kit. A much bigger scale. Also closer to scale of the DeAgostini Millennium Falcon. The kit does come with lighting for the engines, a single cockpit light and missile firing light. It also has electronic opening and closing of the wings.

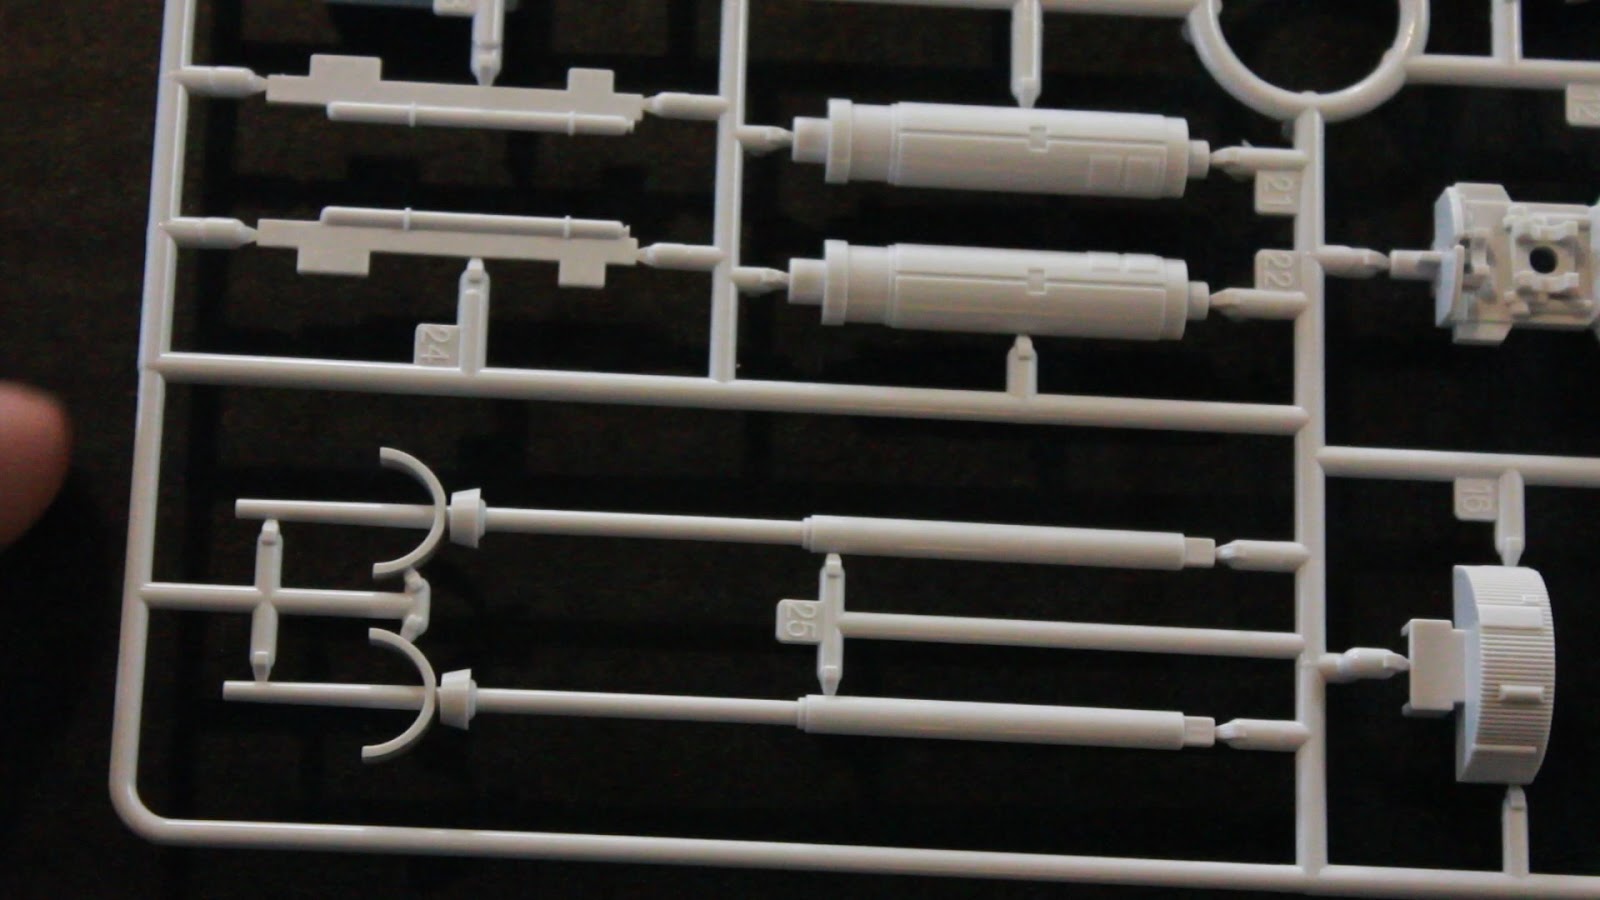
So here are some of the parts the kit comes with. As with ALL Bandai kits, the details are just fantastic. Super clean, sharp and defined details. Once finished, it's going to be a beautiful kit.


As for the guns below, I am thinking of replacing them with styrene tube so that I can run fiber optic through them and make the guns fire as well. Would be a nice addition to the missile firing.
I've also purchased photo etch from Paragrafix.biz to fully detail and light the cockpit of the X-Wing, as well as more detailed photo etching of the interior of the engines.


The kit does also come with a base, which has the electronics for the LED lighting that comes with the kit. Has a main power button, a missile firing button, and a wing open/close button.

I am not to fond of the base, as it's a little bulky and not just very slick looking. As with my Y-Wing I built, I'd like to try and use brass rod to support the X-Wing.

The issue with using brass rod is 2 fold. For one, I do not believe a rod would be strong enough to support the motion of the wings opening and closing. This is one reason for the bulkier base the kit comes with. And two, I will have to build a custom base for my rod to attach to. I already plan to incorporate the kit electronics with my additional electronics for additional cockpit lighting, animated engine lighting as with my Y-Wing, and the laser firing LEDs. Building a custom base, I would have to remove the kit electronics to incorporate with mine.
Here you can see the kit portion with the engine lighting, which is just solid red. I plan to replace these LEDs with neopixels so that I can animate them with my Adafruit Trinket, as I did with my Bandai W-Wing.

The single LED for the front of the cockpit, which is yellow, rather than white. So that right there needs to be replaced. And because I plan to fully light the cockpit, I will be needing 3 LEDs. Front cockpit and the 2 side panels of the cockpit. All of which will be while LED lighting.

There is also the missile firing LED, which is about the only thing that will remain from the actual kit electronics, since it works just fine.

Again, the wings open, which is why the thick stand for the base, to support the motion of the wings as the motor opens and closes them.

Here you can see the pin connection for the base and the motor/LED portion of the model. I will need to isolate each pin to determine power, missile LED, cockpit LED, etc.

Using brass rod, I will either need to get a larger diameter rod to encompass the pins, or I will have to remove the pins and just run bare wire through the tube. This is where I haven't completely decided what I'm going to do.

So at this point, the first thing I will do with the kit is paint my Luke pilot. So I removed him from the sprue.

I printed out a photo of Luke in his flight uniform to match the color orange, and for painting all of the details the appropriate colors.

I mixed my own orange color to match, using Tamiya flat red, flat yellow and flat white.

I spayed the figure with Tamiya fine gray primer....

then airbrushed the entire figure orange.


The paints I will then use to paint the rest of the uniform are gloss black, flat black, medium gray, sky gray, neutral gray and white.

So I start off by painting his boots and gloves with gloss black, as they are supposed to be rubber and have some shininess to them.


I then painted the vest and helmet white, the chest plate neutral gray, with some black, white and blue on the buttons. The face was painted a flesh tone, then clear orange over the goggles. The straps around his body were painted with sky gray.

I then added some helmet detail with red, yellow and gray paints, applied by hand with a 0 size paint brush. I then sprayed the entire figure with a gloss coat to do my washing and apply the decals.

I first painted some additional details on the sides of the helmet. A little black symbol, under the yellow half circle, then 2 yellow dots and 3 red dots around the top of the helmet where I then painted a little black "V" over the dots, again using a 0 size paint brush. Below is a photo of Luke from Star Wars and you can see what I'm trying to accomplish.


After painting some additional helmet details, it was then time to apply the decals. I once again am using Micro Sol, a decal applying solution, to apply my decals. I first apply some of the Micro Sol to the model itself, where I'm going to apply the decal.


I then cut out the decal, put in water to remove and apply to the figure.


And did the same for the 2 Rebel insignias on either side of the helmet.


I then used some Vallejo brown wash over the entire uniform to dirty and weather it. I chose brown, as it's a closer color to orange, and I didn't want the weathering to pop like it would if I were to use a black wash.

I liberally painted over the entire uniform.

I then lightly brushed some Tamiya mud pastel over the helmet to just slightly weather and dirty it up.


After applying the pastel, I sprayed the entire figure with a flat coat to protect the paint and flatten it. I then lightly brushed on a clear gloss coat over the boots and gloves to give back the appearance of rubber, and some clear over the goggles to make them appear as glass.

After applying the gloss coat I used some Tamiya sand pastel to lightly dirty the boots and gloves.


Which then leaves me with my finished Luke Skywalker pilot figure for my X-Wing model kit.


I will next be moving on to building and lighting the cockpit of the X-Wing, using photo etch and LED lighting.
So stay tuned. Much more to come...