
As you can probably tell from the picture above, we have the lower body portion and R2's head. You'll notice there's a small post in the center of the body which fits into the cylinder in the middle of R2's head. Because I am wanting to illuminate with a 3mm LED, I need to first, remove the post from the body and shave down the cylinder in the head.

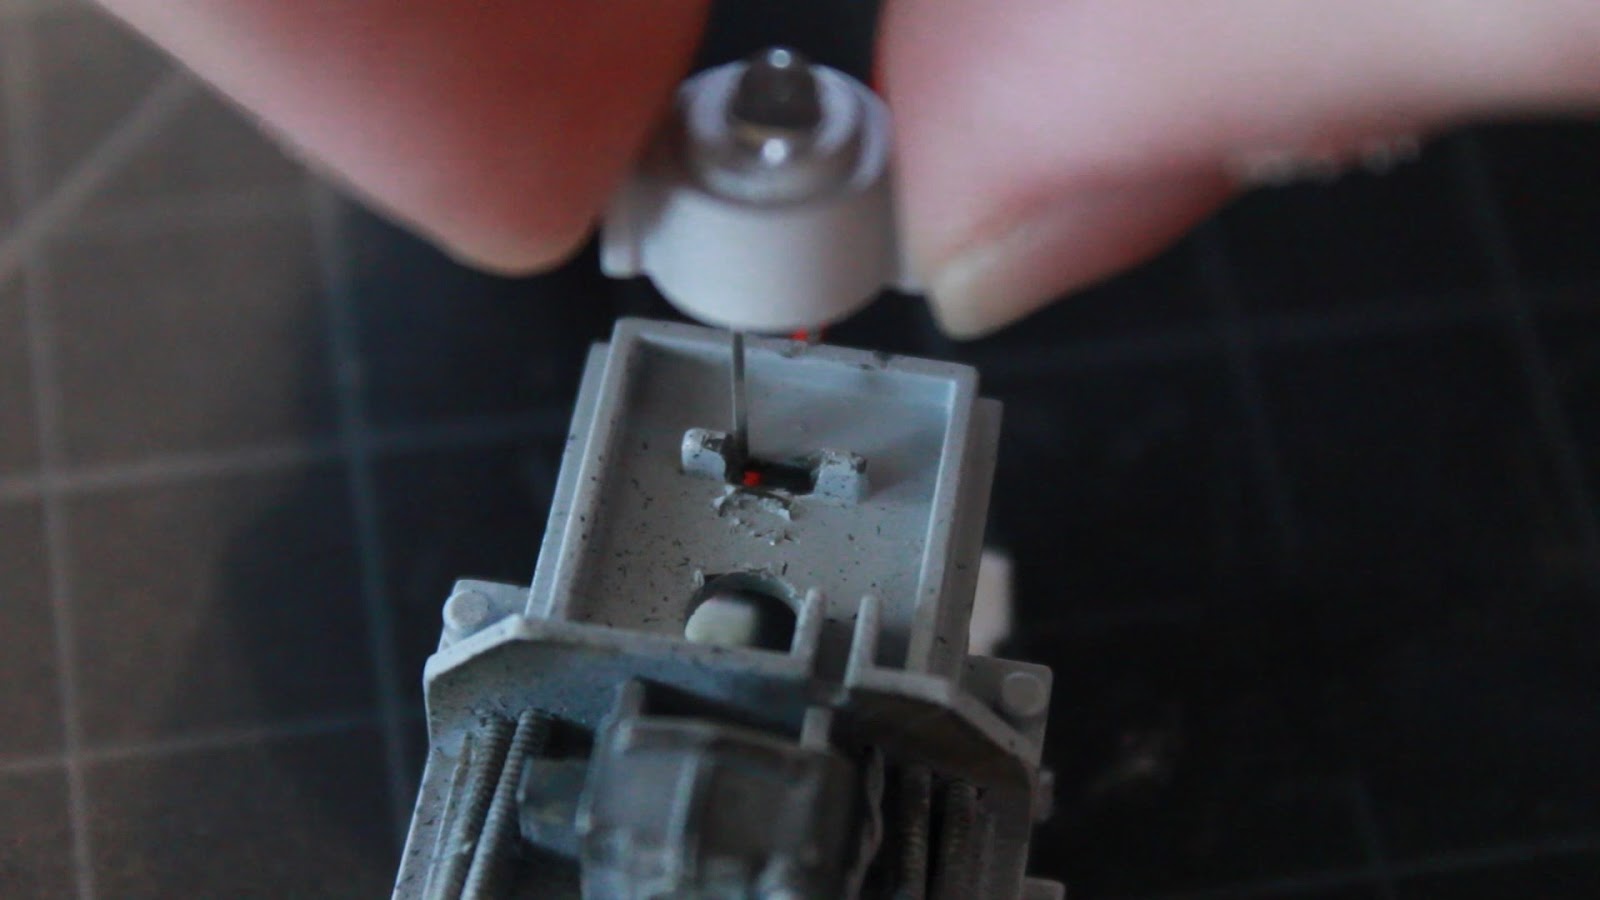
After having done this, I drill a hole through the body 3mm in diameter for the LED to fit into.

You can see how a 3mm LED fits nice and snug inside the body and pokes through just enough to illuminate the inside of the head.


I then drilled a .5mm hole in R2's head for the main red eye that you see in all of the films. I also drilled a .25mm hole in his projection hologram in the front and the light in the back of his head.


And a little test with the head attached to check the light.

Obviously, because the light is shining in the head, the plastic is fully lit, so I need to prime the inside, as well as the outside of the body and head to help with light blocking. And then painted the inside of R2's head with a dark gray to further block light from leaking through the plastic.


So R2 attaches to the upper rear portion of the cockpit housing as you can see here.

There is a little notch in the housing that R2 attaches to. Because I am feeding an LED into R2, I need to cut away the middle portion of this notch for the LED to fit through.


With the middle cut away, you can slightly see in this photo that it's the correct width for my LED leads to feed through.

So I then drill a few holes through the housing for my wires to feed through.

After which, I feed my LED I plan on using through the slot....

And because the cockpit housing fits flush against the wing motor housing, I cut away the LED leads at the base of the cockpit housing.

I then soldered my wires to my LED and fed them through my cutout.


And used Elmer's glue to hold the LED in place. The proper height, previously established when I inserted the LED into R2's body and placed him in position and cut the leads at the base.

You can see here the LED leads just flush with the bottom surface of the base. I used 30 gauge wire as to not interfere with the cockpit housing being placed against the wing motor housing.

I then secured my wire along the inside of the bottom cockpit housing and soldered them into my board I had made to power the cockpit. Positive and ground wires attached.

And a quick lighting test to make sure it's all good.

The body of R2 just slides right over the LED and securely attaches to the cockpit housing.

And his head fits nice and snug on top of his body.

And the light comes through the drilled holes, no problem.


So with all of the lighting being worked out, it's time to paint and detail R2. I start out with painting the head black...

then airbrush chrome silver over the black. I also paint the body portion white.

The kit comes with some nice decals for detailing R2. So rather than trying to finely paint him, I'm going to use the decals. I've also gone through the 3 holes I've drilled and run my bits through them one last time, clearing out any paint that may have built up during my painting process. So I have nice clean holes for the light.

So now, using microset and applying it to the model, I then cut out the decal, place in water and slide it off onto the microset soaked model. This makes it easy to move the decal around and get it in the perfect position.


Once placed into it's proper position, because there is some texture detail on the kit, I apply microsol, which is a secondary decal solvent that softens the decal to conform to shapes of a model. This helps it seal over the dome shape and around the one eye coming from the top.

The main sensor eye decal is then applied...


And the body decal, which will pretty much not be seen as the X-wing itself conceals this portion of R2. But it's there.

Originally, I had planned on inserting small nubs of fiber optic into my drilled holes, especially the main front eye. I was going to color the tip of the fiber optic red, so that when the light shined through, it would obviously appear red. But because of using the decals, the decal that wraps around the lower part of R2's dome has a red eye and a yellow eye in the back as well. It also has the 2 little blue squares just to the left of R2's main eye. So now I'm thinking the light can just shine through the decal and the decal will supply the color. So I decided to drill out (with a .5mm bit) an additional hole in the rear of R2's head for the yellow eye, and the 2 blue squares (with a .25mm bit) to the left of the front Red eye.


I then applied the decal carefully around R2's dome.

Then one quick test to make sure that my light does in fact work with the decals in place.


I think this worked out beautifully. Probably even better than if I tried to do it with fiber. I'm very pleased. Here's a scale reference of the size of R2.


So the last bit is to put R2 in place on the back of the cockpit and test with the cockpit LED.


And it all just works beautifully and just as I had planned for it to work. So I'm very happy. And a shot with the fuselage in place to get a little sneak peak.

So that's it for now. It's finally time to move on to wiring up engine lights through the motor housing and getting those ready and the fuselage ready.
So stay tuned. Much more to come...